This article will tell you how to change the title logo / photo of the system for i.MX series device.
In standard image that ICOP provided; no matter it's Yocto Linux or Android, the title logo / photo is always the linux logo, but this can be changed by simple steps.
In the tips below, we will provide the guide step by step.
First, prepare a custom boot image and convert it to a Linux-compatible PPM file (the image should be saved with a .ppm extension in ASCII format and have a maximum of 224 colors).
Please follow the steps below to change the image to the correct format:
pngtopnm xxxx.png>linuxlogo.pnm
(xxxx=your file name)
pnmquant 224 linuxlogo.pnm>linuxlogo224.pnm
pnmtoplainpnm linuxlogo224.pnm>logo_linux_clut224.ppm
By the steps above, we can change the PNG file to 224 colors .ppm file.
In this case, we assume the user already know how to build a image file by recipe, and already has the recipe file.
If the recipe file is no implemented, check here for an example.
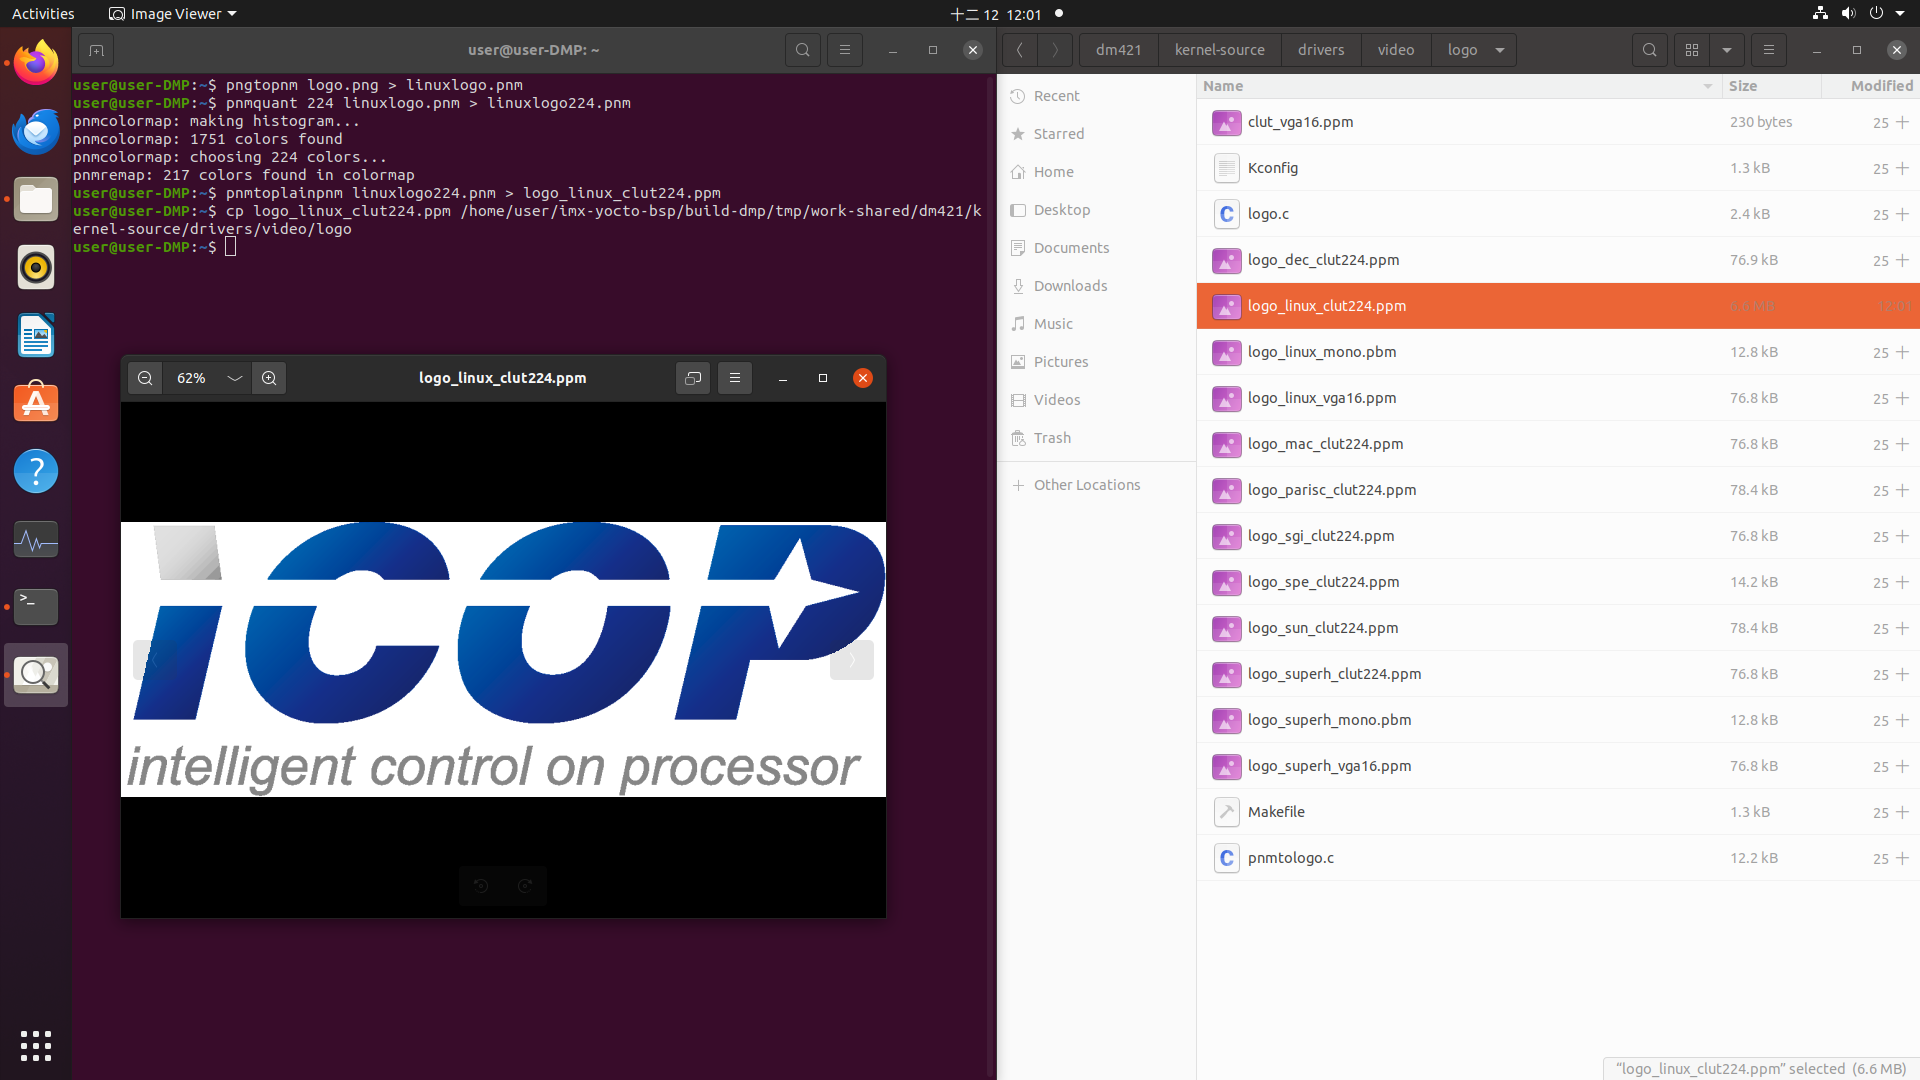
cp logo_linux_clut224.ppm kernel-source/drivers/video/logo
/home/user/imx-yocot-bsp/build-dmp/tmp/work-sahred/dm421/kernel-source/drivers/video/logo
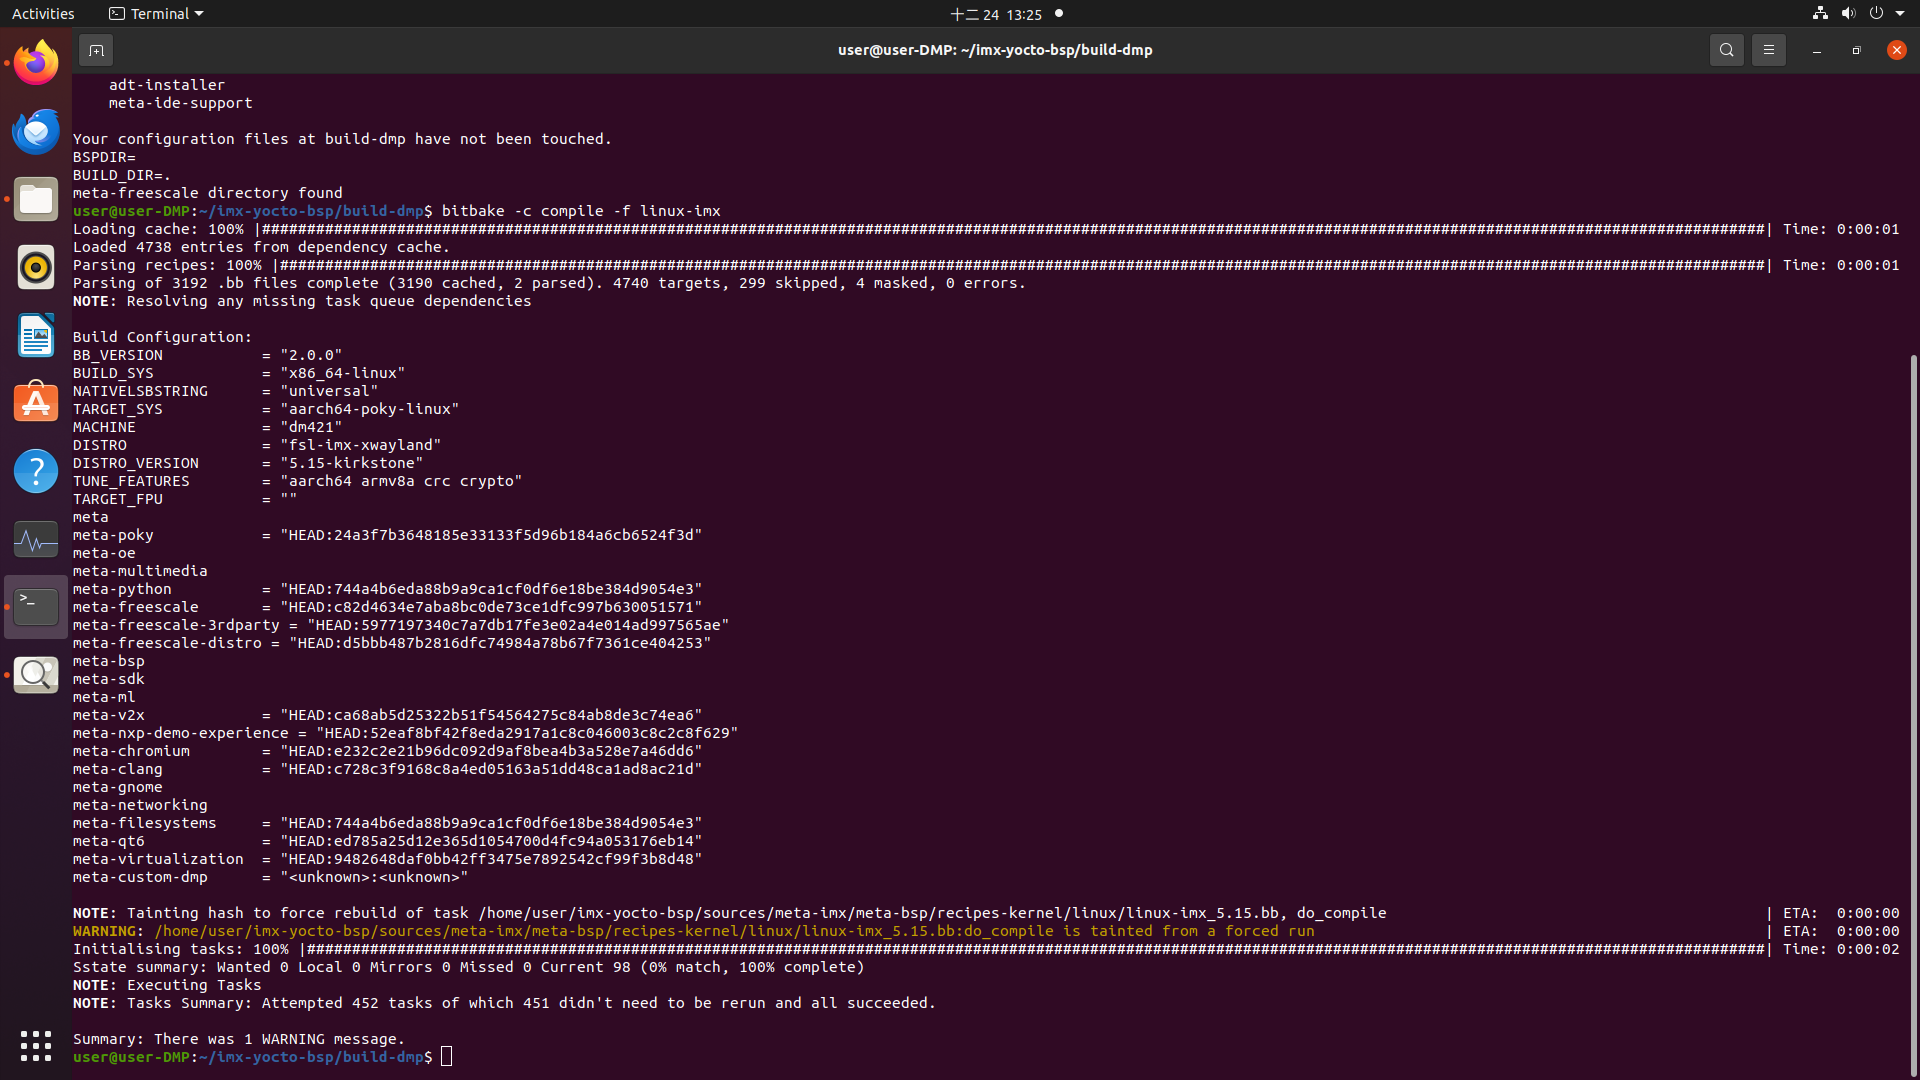
bitbake -c compile -f linux-imx
bitbake imx-yocto-multimedia
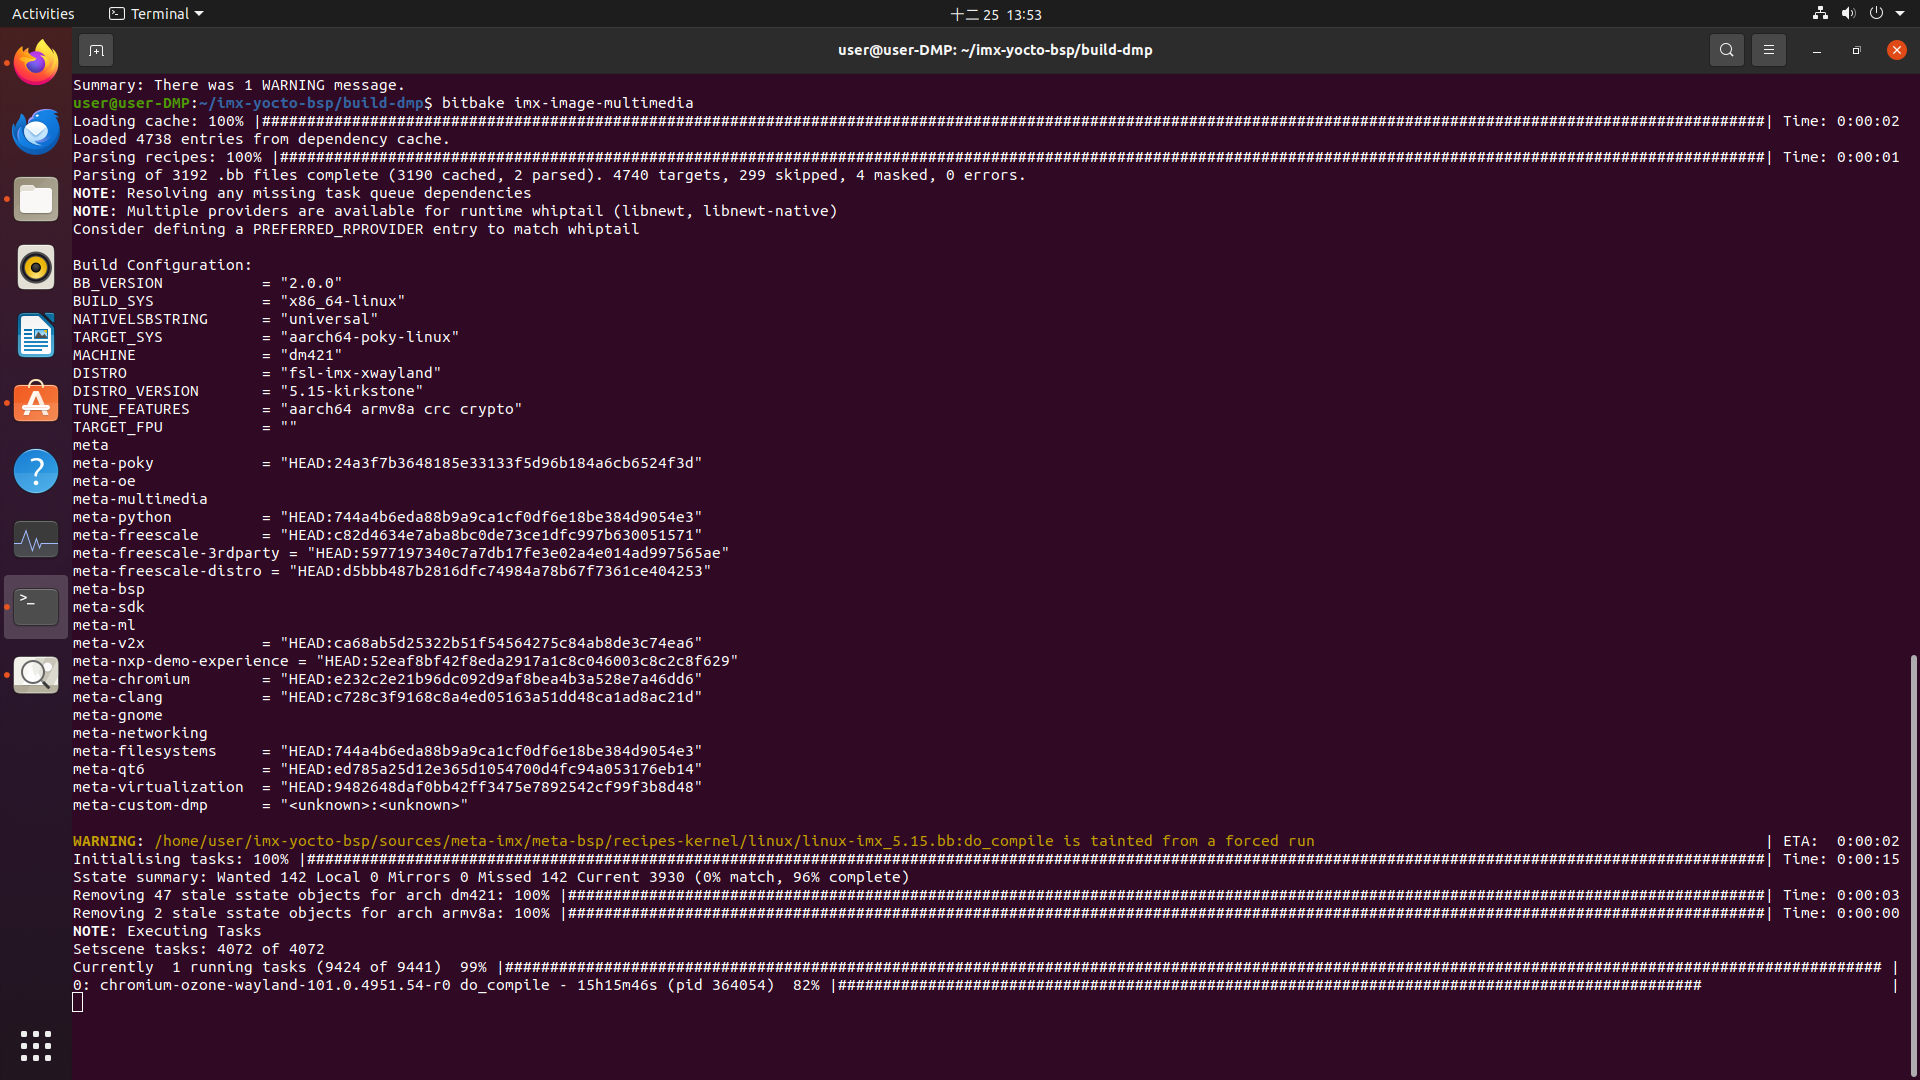
In this case, we use imx-yocto-multimedia, the user can decide which kind of image they would like to generate; the detailed information is as below:
| Image Name | Target |
| core-image-minimal | A compact image that enables the device to boot with minimal functionality. |
| core-image-base | A console-only image that ensures full compatibility with the target device's hardware. |
| core-image-sato | An image featuring the Sato mobile environment, providing a visual style and mobile applications such as a terminal, editor, and file manager. It utilizes the Sato theme and includes Pimlico applications. |
| imx-image-core | An i.MX-based image containing i.MX test applications, designed for Wayland backends. This image is used in daily core testing for i.MX devices. |
| fsl-image-machine-test | An i.MX core image from the FSL Community, providing a console-only environment with no GUI interface. |
| imx-image-multimedia | An i.MX image with a graphical user interface (GUI), but without any Qt content. |
| imx-image-full | An open-source Qt 5-based image that incorporates machine learning features. These images are designed specifically for i.MX SoCs with hardware graphics support and are incompatible with the i.MX 6UltraLite, i.MX 6UltraLiteLite, i.MX 6SLL, and i.MX7Dual models. |
Reference: NXP's i.MX Yocto Project User's Guide

| Model Name | PN8M-090T | EBOX-IMX8MM | NX8MM-35 | VOX Series Openframe |
| CPU | i.MX 8M Mini Quad-core ARM Cortex-A53 up to 1.6/1.8GHz | |||
| Memory | Up to 4GB LPDDR4 | |||
| Storage | Up to 64GB eMMC | |||
| Display | 9" TFT 1024x600 Resolution LCD with Resistive or Capacitive touch screen IP65 water/dustproof |
HDMI | HDMI/LVDS | 7" LCD 1024x600
8.4" LCD 800x600 9" LCD 1024x600 10.4" LCD 800x600 15" LCD 1024x768 |
| Connectivity | GLANx1, USB x2, COMx1, BT&WLAN, MiniPCIe and HD Audio | GLANx2, USB x3, COMx4, BT&WLAN, MiniPCIe and HD Audio. | GLANx2, USB x4, COMx4, i2c, SPI, GPIO, BT&WLAN, MiniPCIe and HD Audio. | 8.4", 10.4" and 15": GLANx2, USB x4, COMx3, i2c, GPIO, BT&WLAN, MiniPCIe and HD Audio.
7" & 9": GLANx1, USB x2, COMx1, BT&WLAN, MiniPCIe and HD Audio. |
| Type | Panel PC | BOX PC | SBC | Openframe System |
For more info and sample request, please write to info@icop.com.tw, call your nearest ICOP Branch, or contact our Worldwide Official Distributor.