This document will talk about the steps to BIOS remote access.
Some devices allow the BIOS to be configured from the serial port, especially on systems designed for rack mounting. Few machines intended to be used as desktop systems enable the BIOS to be accessed from the serial port.
Refer to your vendor's documentation to set the BIOS to use the serial port. Some vendors call this feature "console redirection." (You can see Use Console Redirection with Vortex86 platform)
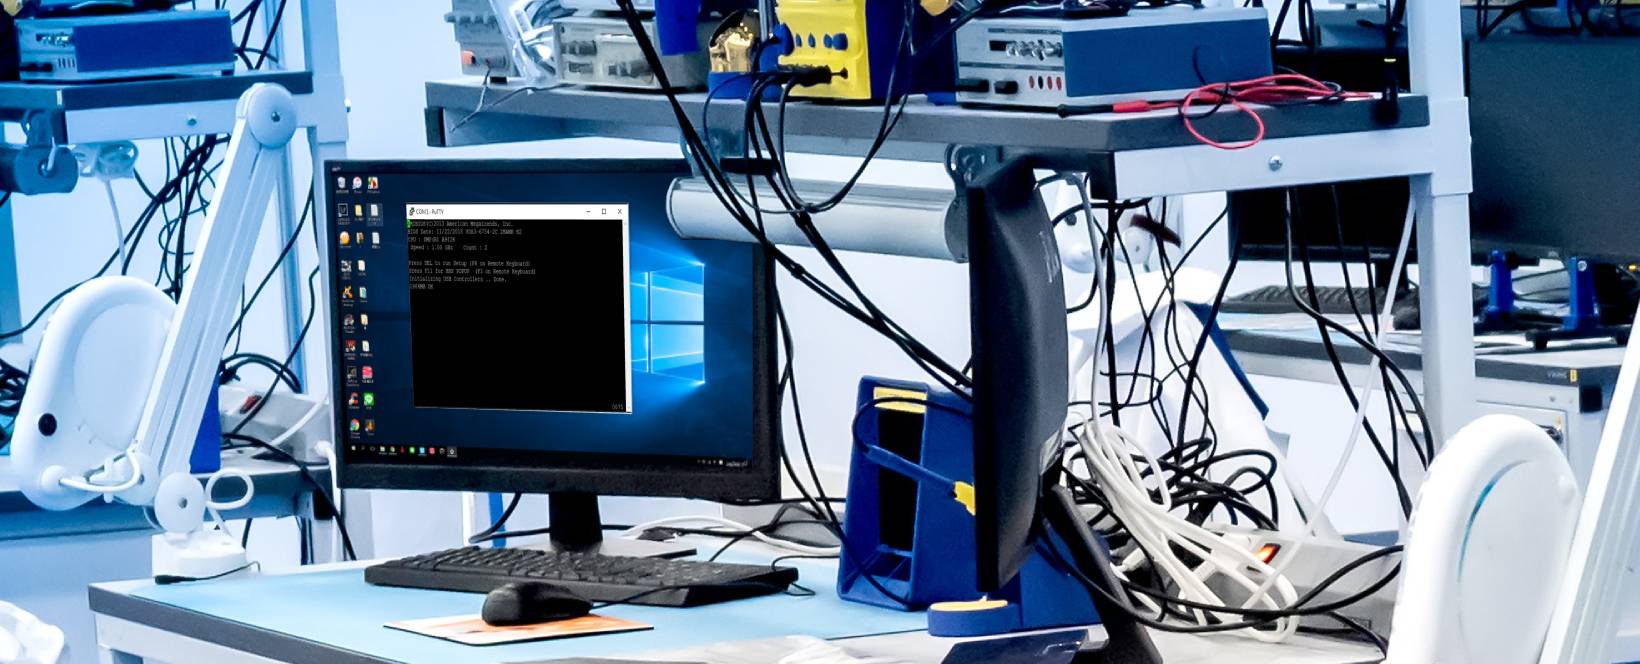
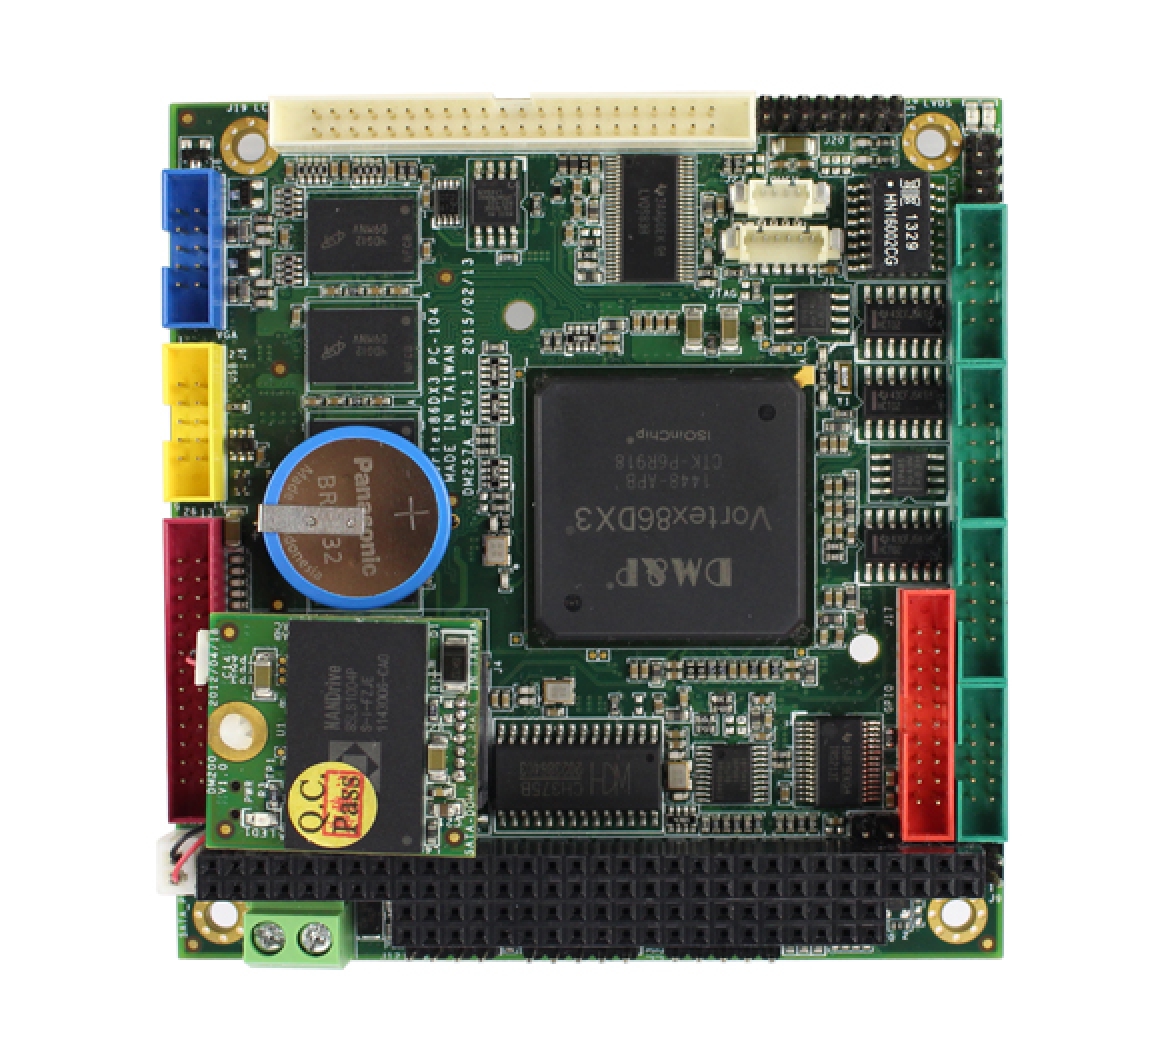
We will be using the VDX3-6754 to be the target device in this section.
Advanced > Remote Access to
Enabled
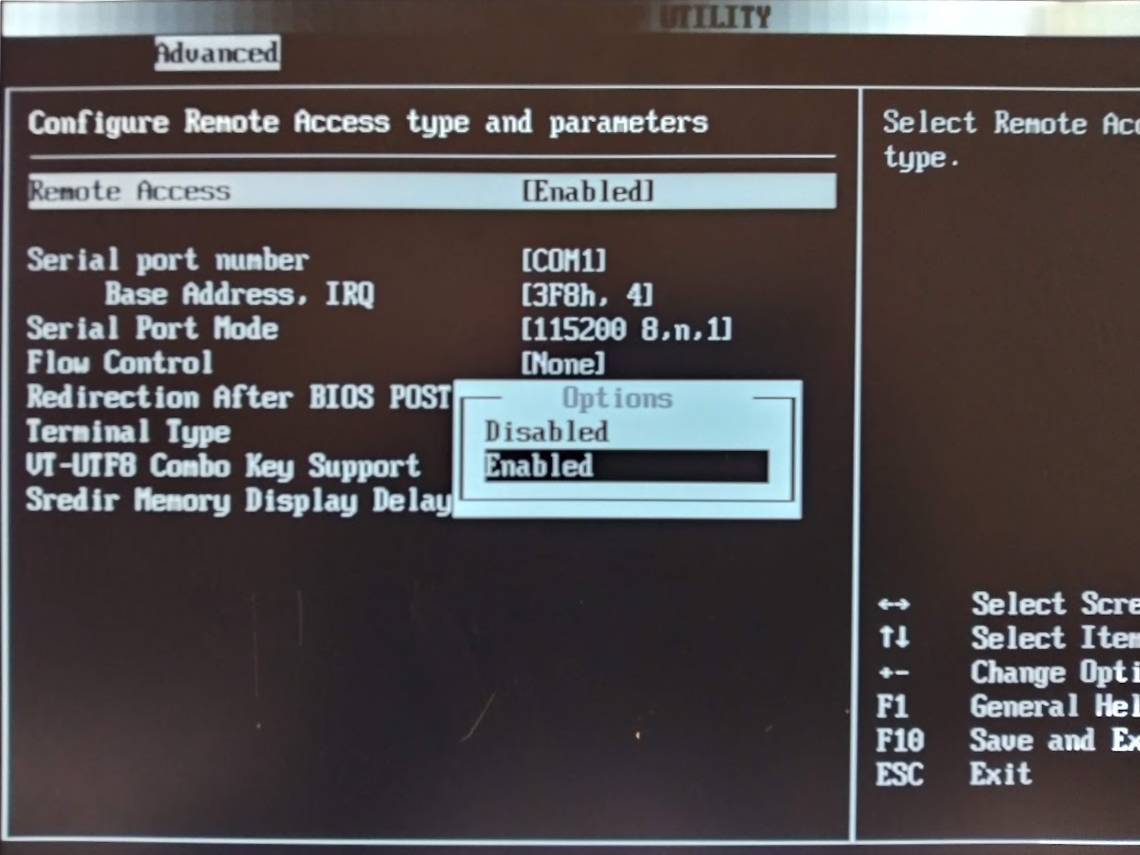
F10 > Enter to save BIOS setting change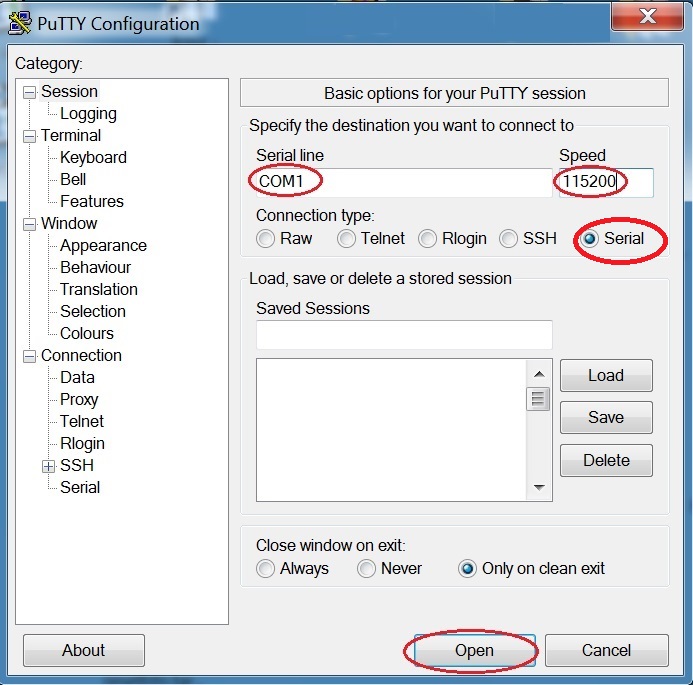
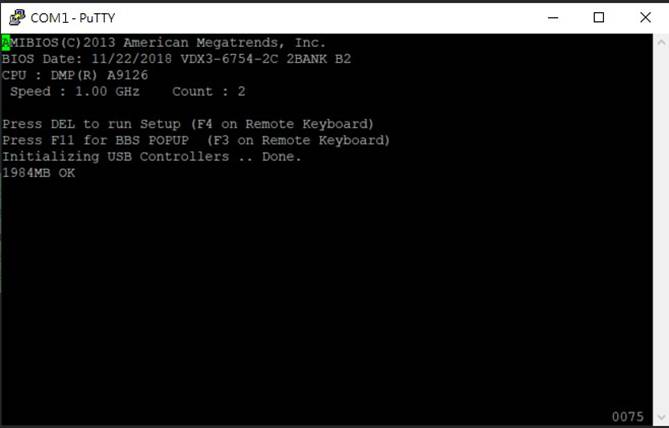
After the above steps, you are allowed the BIOS remote access successfully on the VDX3-6754.
For more info and sample request, please write to info@icop.com.tw, call your nearest ICOP Branch, or contact our Worldwide Official Distributor.