This article will tell you how to test the SPI bus on the NX8MM-35 in Yocto Linux.
The SPI bus is an optional feature supported on ICOP's NX8MM-35, and it shares functionality with UART3 on the board.
In the tips below, we will provide the guide step by step.
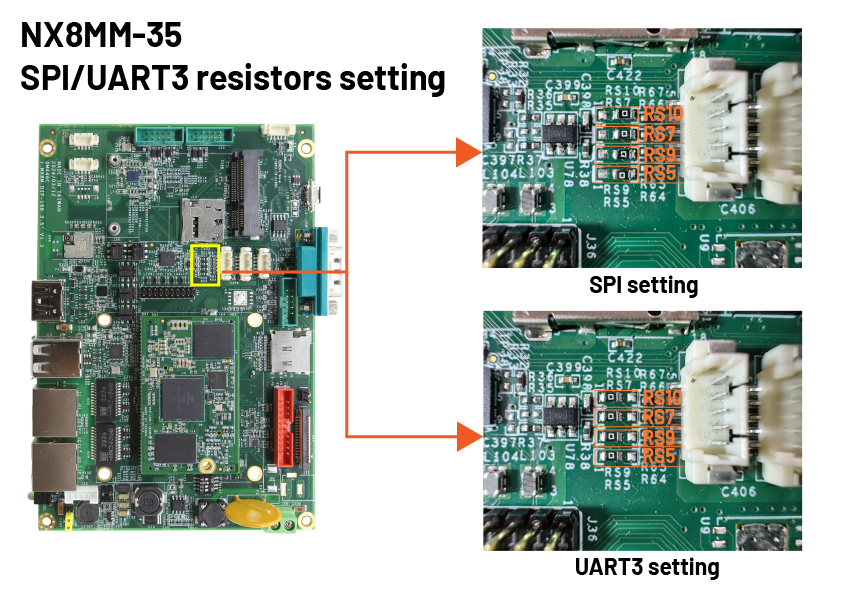
On NX8MM-35, the UART3 and SPI bus can be switched by modifying the resistor on the board.
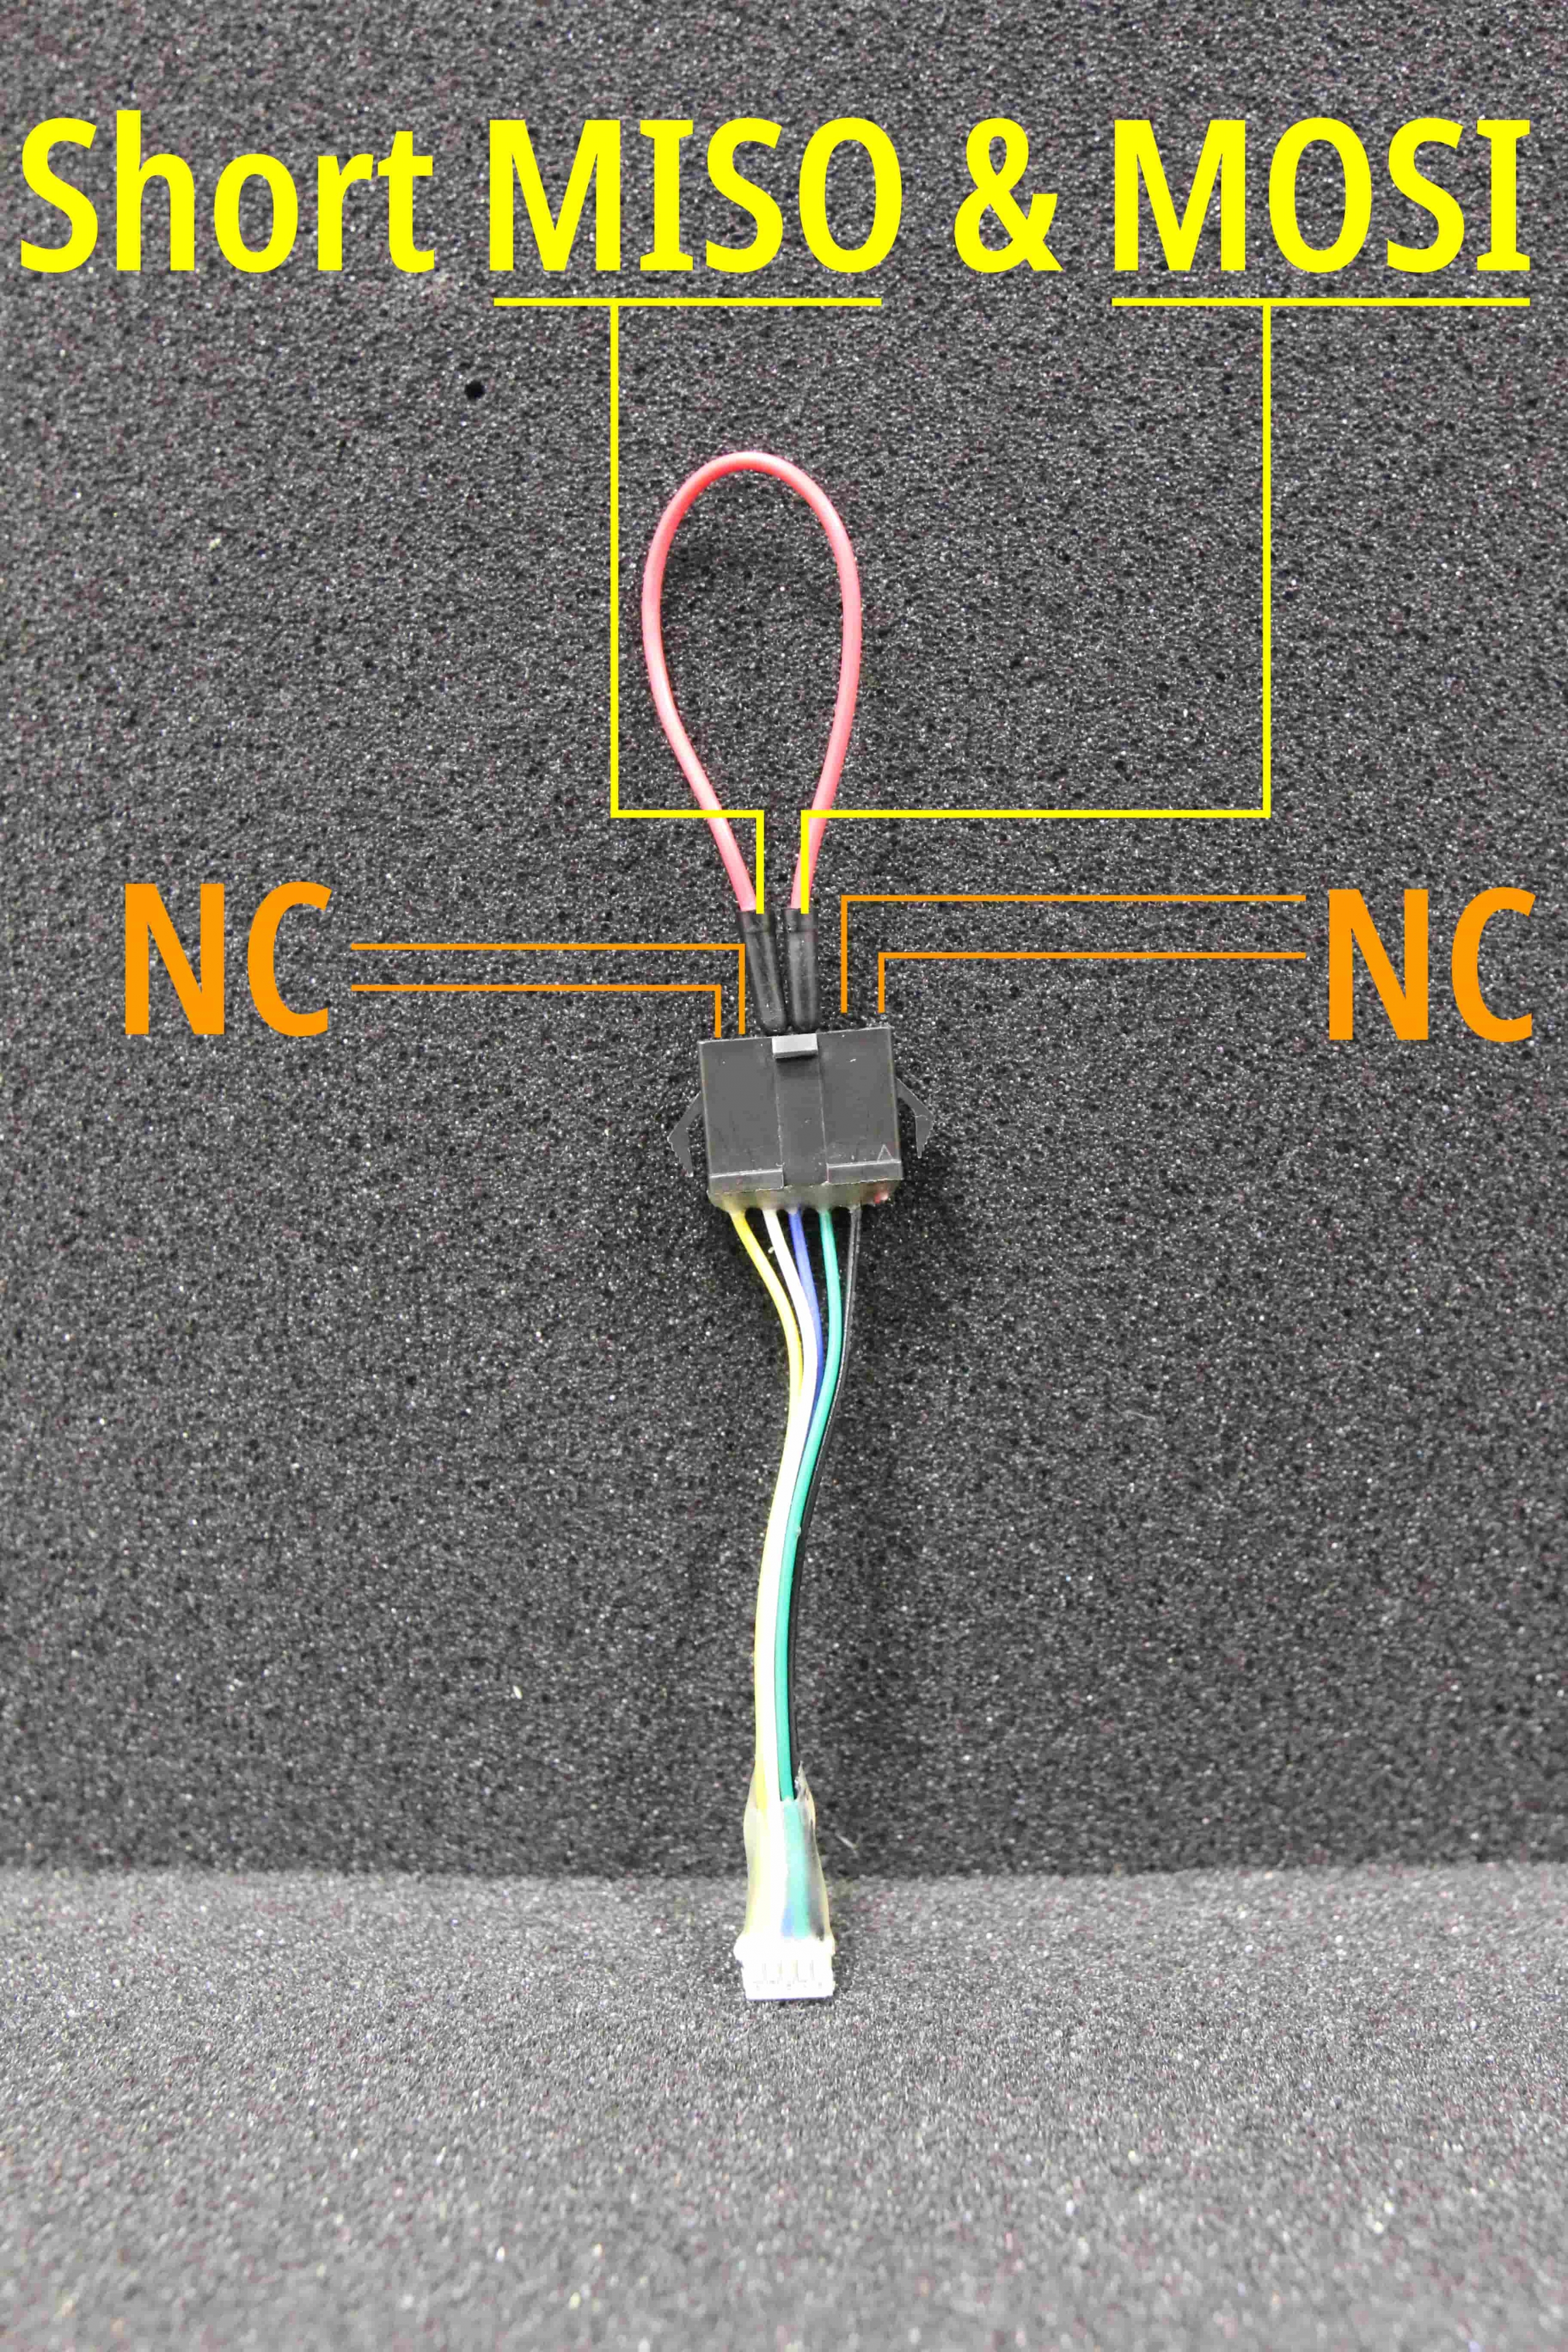
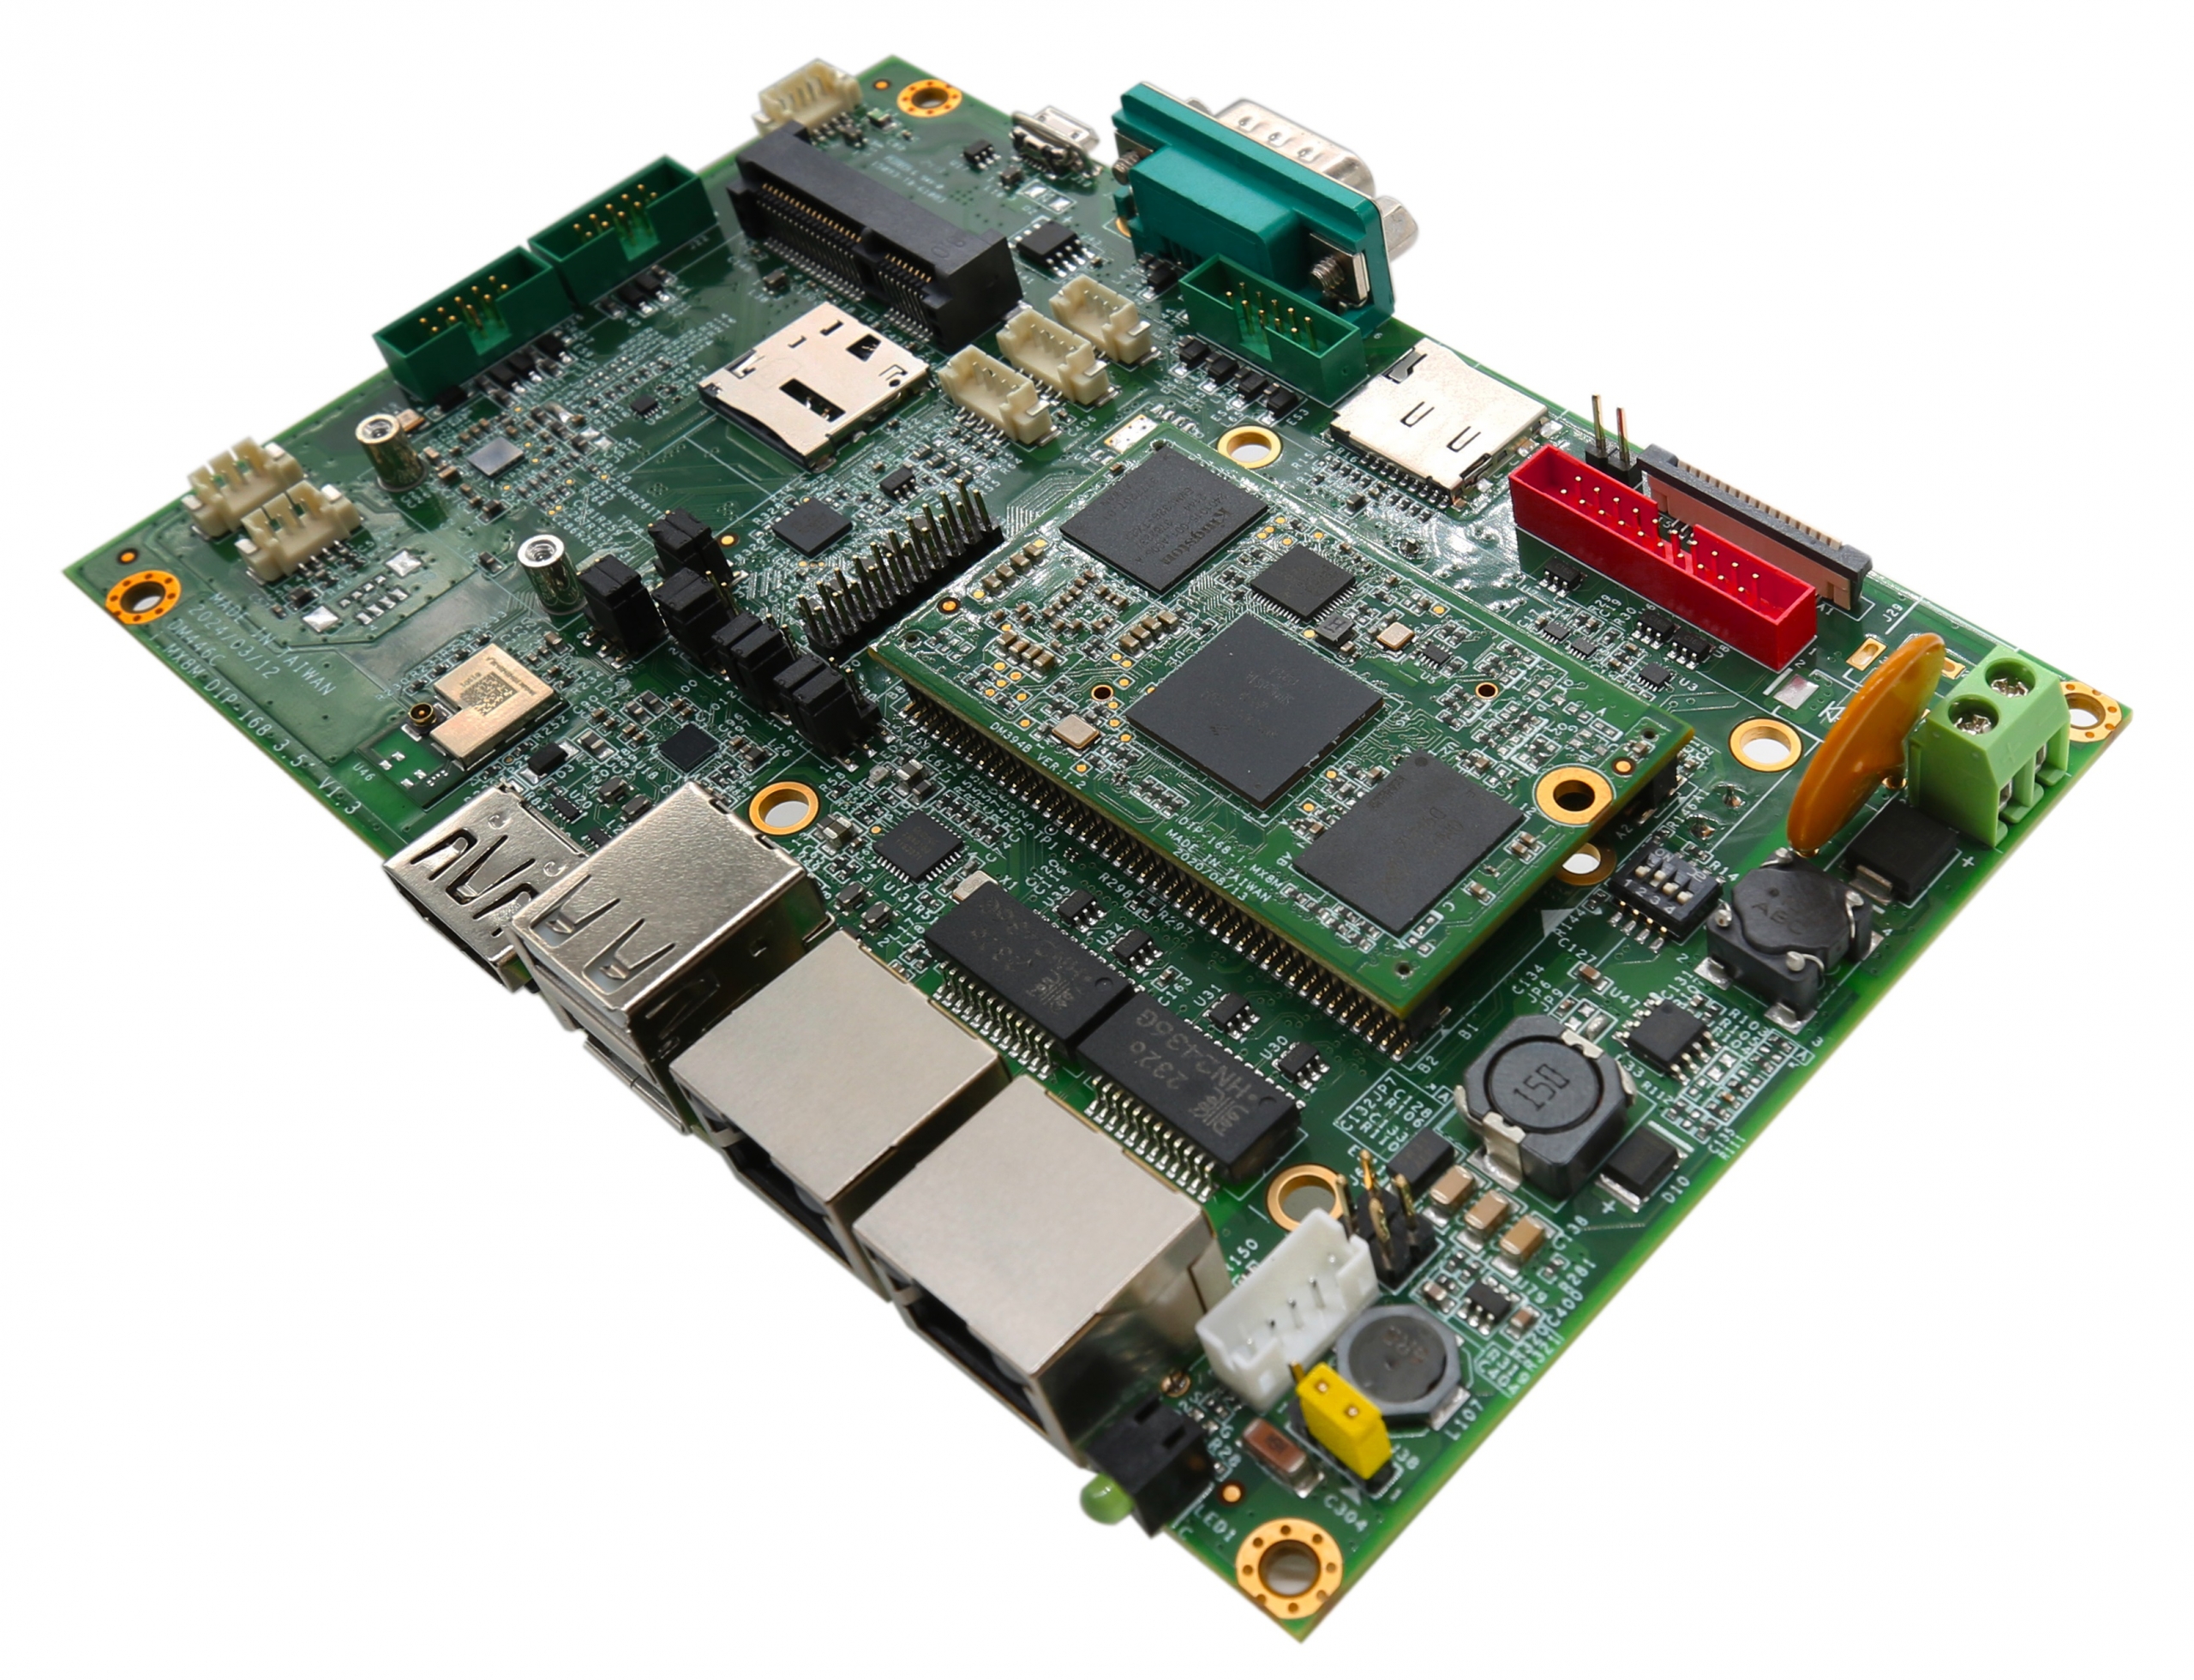
Please follow the image below and use the soldering iron to move the 0 ohm resistor to the correct location.
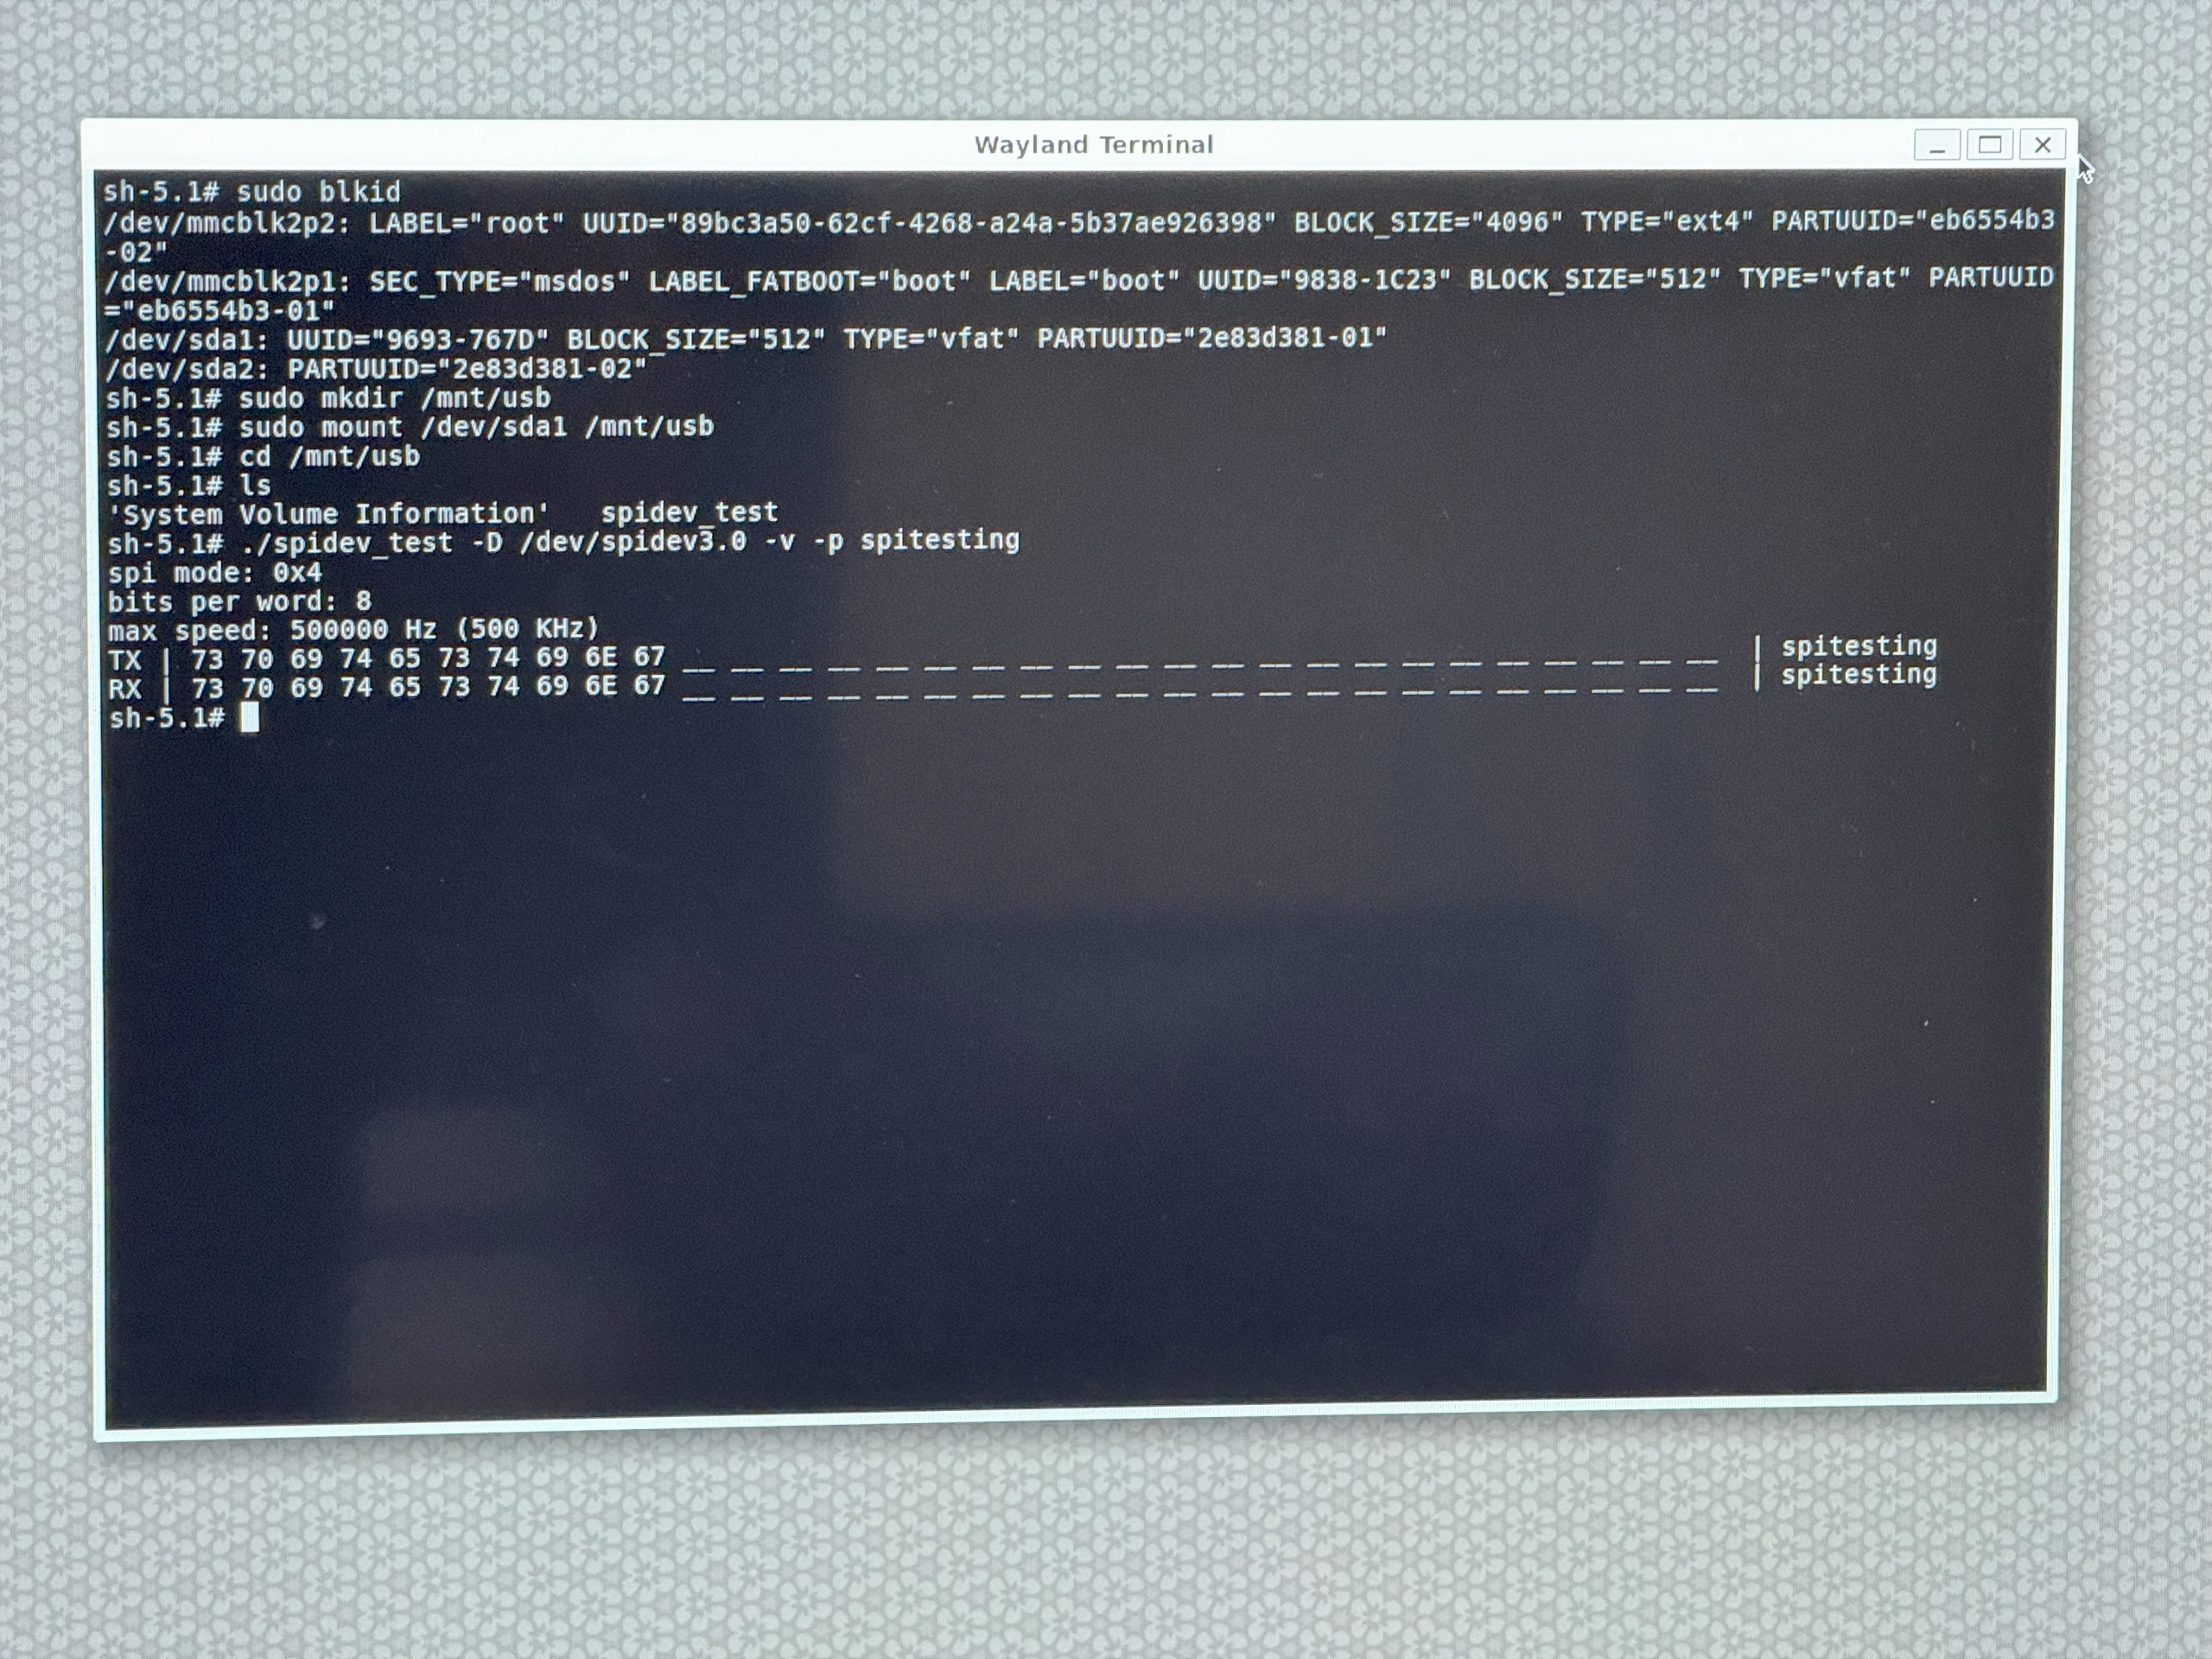
./spidev_test -D /dev/spidev3.0 -v -p xxx
In this case, we type ./spidev_test -D /dev/spidev3.0 -v -p SPITESTING, and if the test succeed, it will show the "SPITESTING" in the test result.
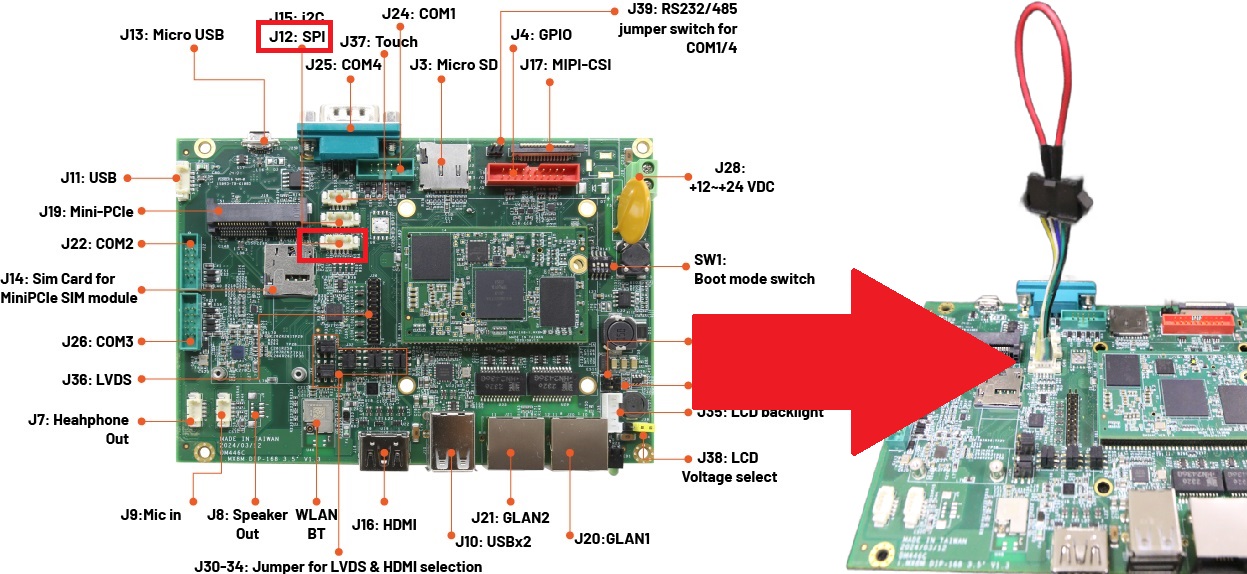
For the steps above, you could find all of the information in the image below:
For more info and sample request, please write to info@icop.com.tw, call your nearest ICOP Branch, or contact our Worldwide Official Distributor.