Nginx is an open-source HTTP/HTTPS web server that can also be used as a proxy server. Compatible with HTTP, HTTPS and other protocols of the reverse proxy server, you can now use Nginx instead of the traditional Apache HTTP2 server.

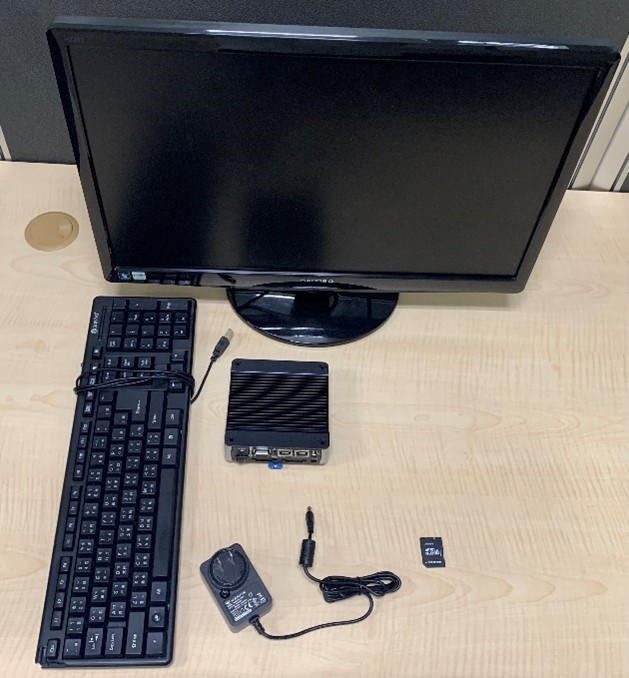
This section shows how to install and set up the Nginx web server on the EB-3362 with Linux Debian 9.
Prepare |
|
apt-get command/apt command to update your system:
$ sudo apt update
$ sudo apt upgrade
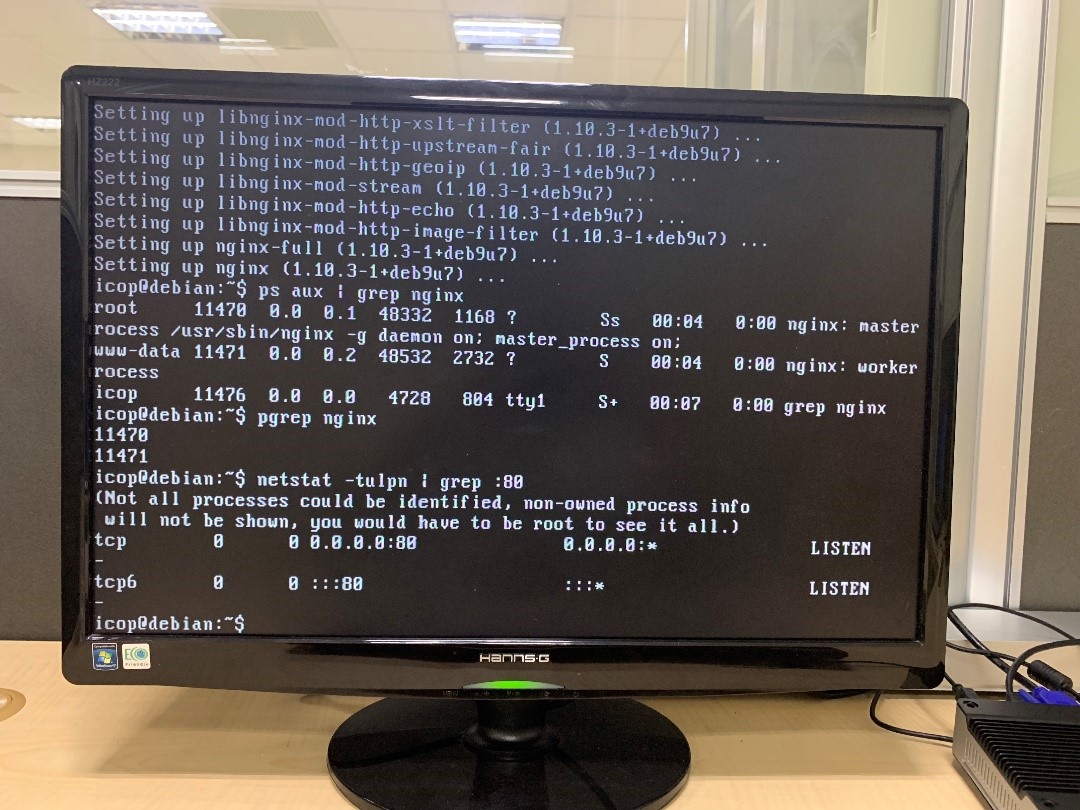
$ sudo apt install nginx
$ ps aux | grep nginx
$ pgrep nginx
$ netstat -tulpn | grep :80
ip command/ifconfig command:
$ ip a
$ ifconfig eth0
In Nginx, all HTML, CSS and Image files are stored by default in the /var/www/html directory, known as the web server's root.
The default directory can be modified in the /etc/nginx/sites-enabled/default config file. You can edit it with either vim command or nano command.
$ sudo vi /etc/nginx/sites-enabled/defaultOR
$ sudo nano /etc/nginx/sites-enabled/defaultThe /etc/nginx/nginx.conf is your main nginx config file and /etc/nginx/sites-enabled/default is the default config file.
$ sudo nano /etc/nginx/sites-available/icopdemo
server {
    listen 80;
    listen [::]:80;

    server_name icopdemo;

    root /home/icop/www;
    index index.html;

    location / {
        try_files $uri $uri/ =404;
    }
}
$ sudo ln -s /etc/nginx/sites-available/icopdemo /etc/nginx/sites-enabled/
$ sudo rm /etc/nginx/sites-enabled/default
$ sudo mkdir ~/www
$ sudo nano ~/www/index.html
<!DOCTYPE html>
<html>
<head>
<title>Welcome to Icop Tech</title>
<style>
    body {
        width: 35em;
        margin: 0 auto;
        font-family: Tahoma, Verdana, Arial, sans-serif;
    }
</style>
</head>
<body>
<h1>Welcome to ICOP Tech</h1>
<p>This is a test for Nginx web server.</p>

<p><em>Hello world.</em></p>
</body>
</html>
$ sudo systemctl reload nginx
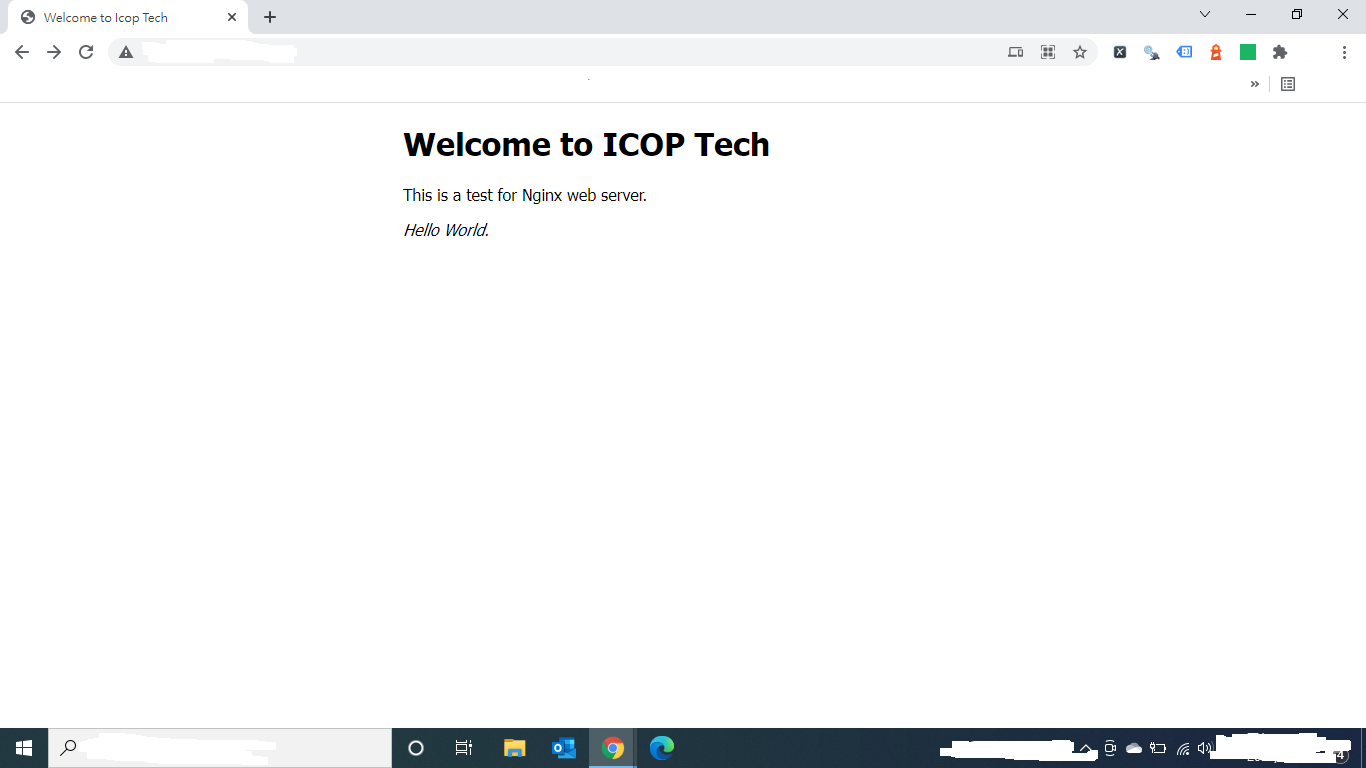
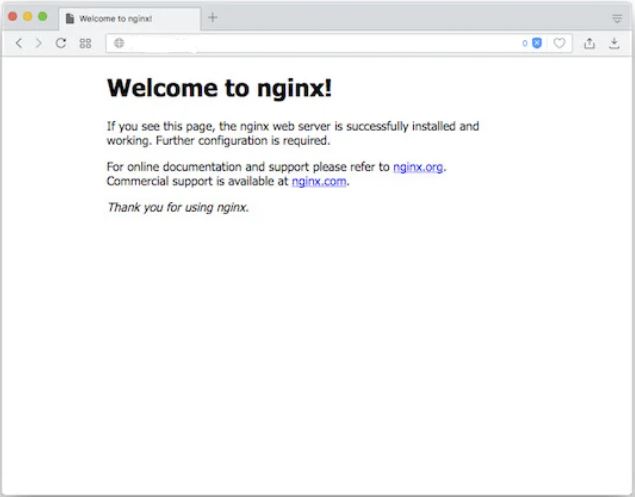
Enter the IP address to display the web page (~/www/index.html) from the Nginx web server.
You can replace ~/www/index.html with the web page you want to display.
For more info and sample request, please write to info@icop.com.tw, call your nearest ICOP Branch, or contact our Worldwide Official Distributor.